
Last updated November 2, 2026
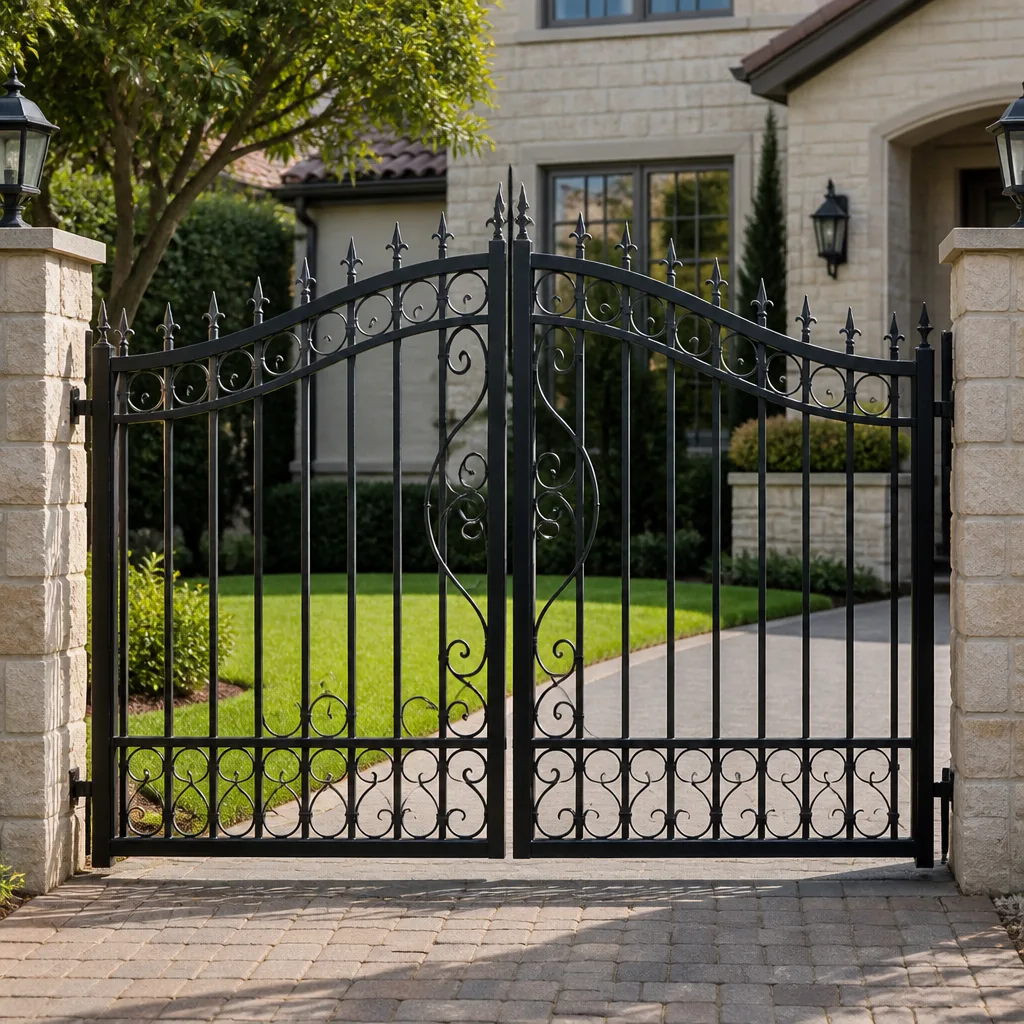 Wrought iron
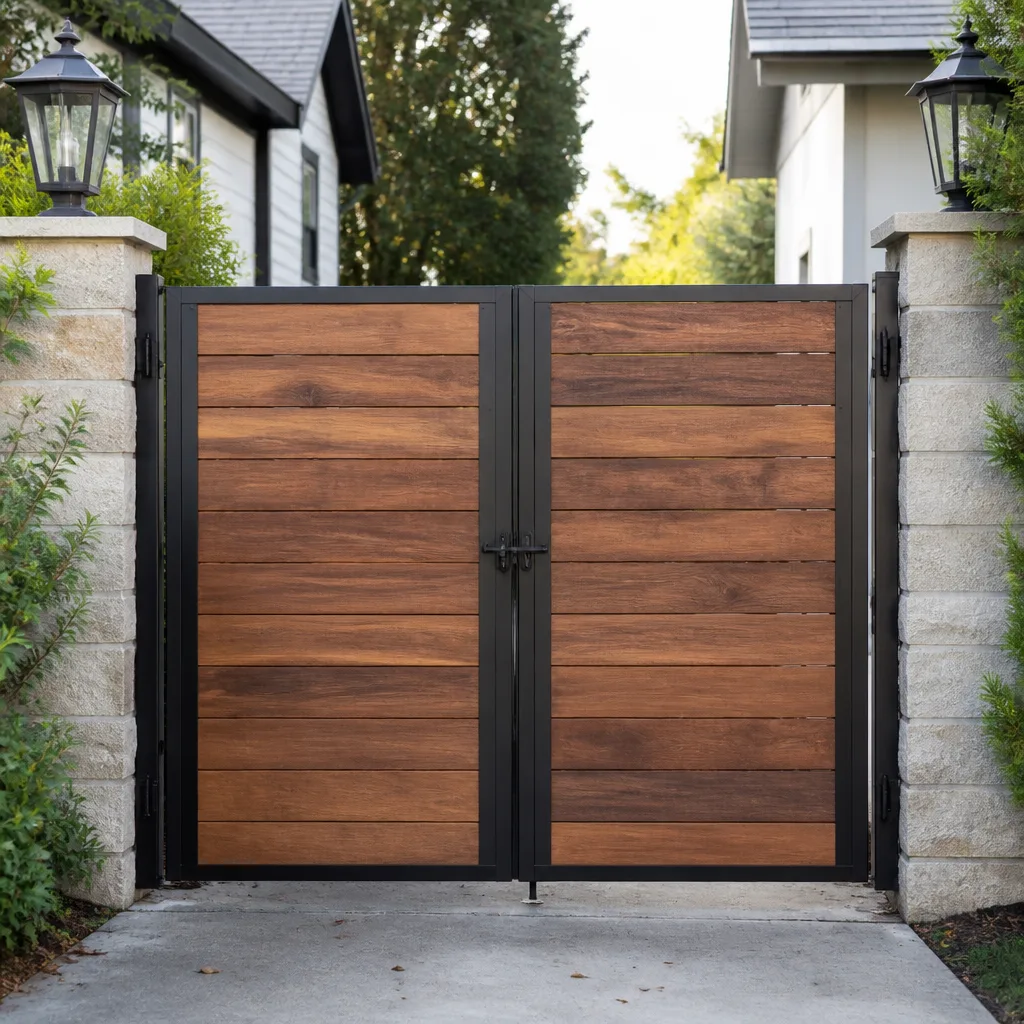 Wood & steel frame
 Farm & ranch
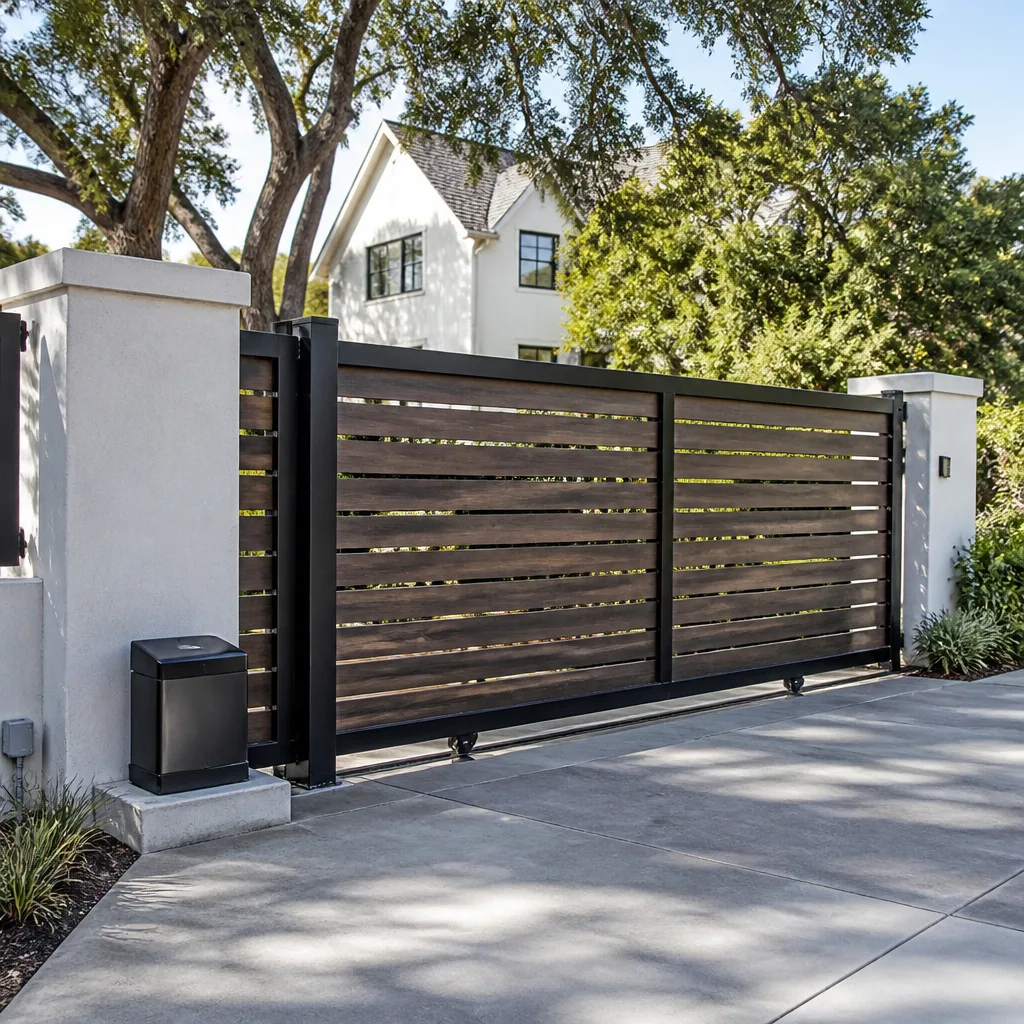 Sliding driveway gates
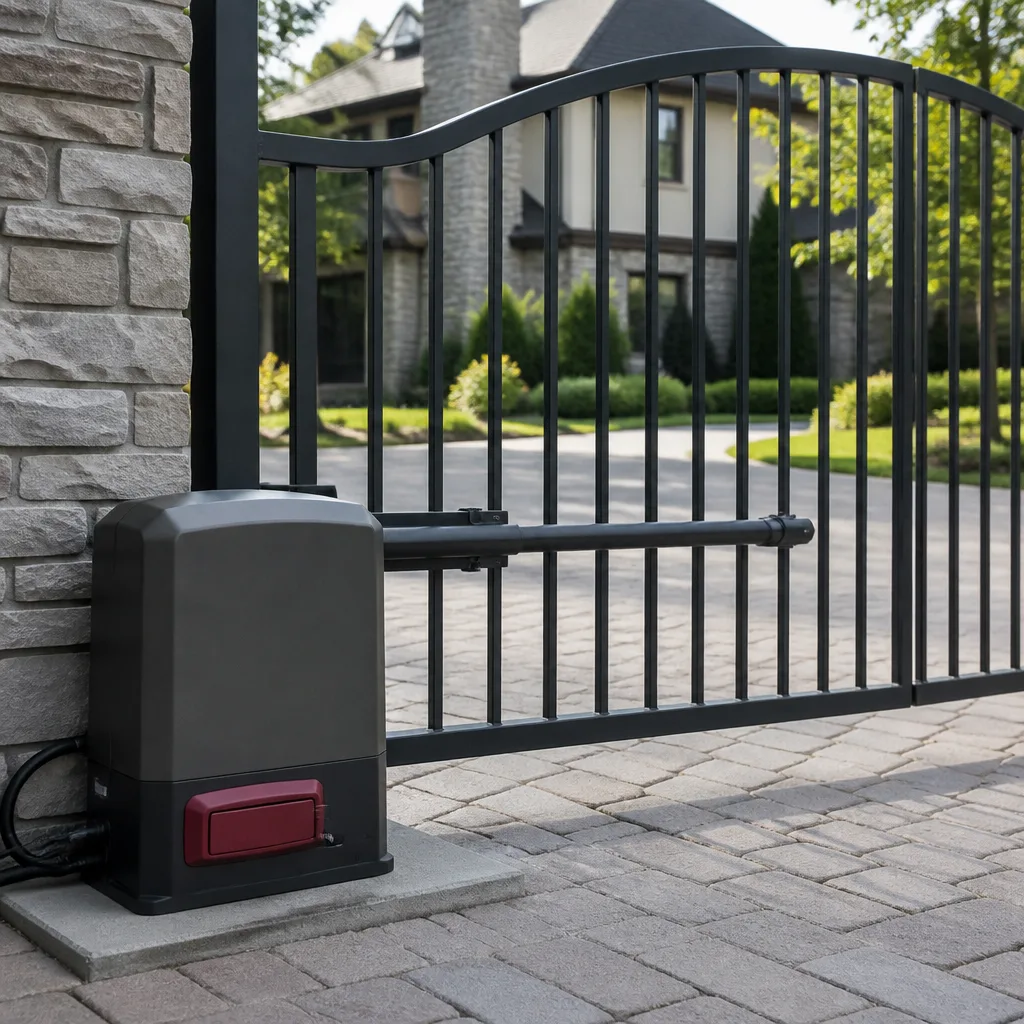 LiftMaster operators
Free on-site gate assessment - hinges, posts, and your LiftMaster or Nice gate operator checked before anything is quoted
The assessment is free and the quote is the invoice.
Get your free estimateDIY vs Professional Gate Repair: The Hyde Park South Homeowner’s Decision Guide
Here’s the stat that should stop you cold: more than 60% of the “simple” gate repairs we’re called to fix in Hyde Park South started as a weekend DIY project that went sideways. A homeowner watched two YouTube videos, bought a part off Amazon, and now the gate is worse than when they started. The real question isn’t whether you’re handy. It’s whether the specific repair you’re attempting is legally allowed, physically safe, and financially smart when you account for California code, UL 325 entrapment standards, and the warranty you’re about to void. This guide draws the actual line, drawn from years of service calls across Hyde Park South, between what you can honestly handle yourself and what belongs in a professional’s hands.
Styles & brands we work with
- Wrought iron
- Wood & steel frame
- Farm & ranch
- Sliding driveway gates
- LiftMaster operators
Quick Answer
For most Hyde Park South homeowners, simple maintenance like remote battery replacement, hinge lubrication, and track debris clearing is safely DIY. But repairs involving gate motors, control boards, safety sensors, hydraulic pressure, or any component governed by California’s C-61 contractor licensing rules and UL 325 entrapment standards should be handled by a licensed professional, both because the law requires it in many cases and because an incorrect repair can turn a $200 fix into a $1,800 replacement.
Table of Contents
- The Legal Line: What California Code Actually Says
- The Warranty Kill List: Repairs That Void Coverage Even When Done Right
- The Tool Reality Check: What Your Multimeter Can’t See
- Safety-Critical Repairs That Should Never Be DIY
- The True Cost: Five Scenarios Compared with Real Numbers
- The DIY-Safe List: What You Can Actually Do This Weekend
- Step-by-Step: The Two DIY Repairs Worth Doing
- Common Mistakes to Avoid
- When to Call a Professional
- Frequently Asked Questions
- The Bottom Line
The Legal Line: What California Code Actually Says
California treats automated gates differently than virtually any other piece of residential equipment. Under the California Business and Professions Code, any gate that runs on an electric motor and is connected to a power source falls under the C-61/D-28 classification for “Doors, Gates, and Activating Devices.” What this means in plain English: if the repair involves the motor, the control board, the safety loop, the wiring from the panel to the operator, or the entrapment sensors, state law requires a licensed contractor to perform the work. The threshold is not about how complicated the repair is. It’s about what component you’re touching.
In Hyde Park South, we see this misinterpreted constantly. A homeowner will tell us they’ve “replaced the capacitor” or “rewired the control board” without realizing they’ve just performed unlicensed electrical work on a device that, in the event of an injury, opens them to liability their homeowner’s insurance will not cover. Insurance companies are specific on this point: unauthorized modifications to an automated gate system void the liability portion of your policy for any incident involving that gate. The gate is a machine that moves hundreds of pounds of steel and aluminum based on electrical signals. California treats it like the machine it is, not like a garage door or a fence post.
There is a homeowner carve-out, and it’s narrower than most guides admit. You can replace batteries. You can lubricate hinges and casters that are not connected to the drive mechanism. You can clean photo eye lenses and clear debris from the track. You can tighten loose bolts on the gate frame itself. You cannot open the operator housing, cannot adjust limit switches, cannot replace a motor capacitor, cannot rewire a transformer, and cannot recalibrate a safety sensor. The moment you remove the cover from the operator box, you’ve crossed the legal line in California. We’re not being conservative here for the sake of it. We’re stating what the Division of Labor Standards Enforcement actually enforces.
UL 325 governs the safety features that automated gates must have, and those requirements are written in blood, so they’re not optional. Any repair that touches the primary or secondary entrapment protection, meaning the photo eyes, the contact edges, the reverse loops, or the inherent obstruction sensing built into newer FAAC and Viking operators, must be tested with specialized equipment after repair. The code requires a gate to reverse within two seconds of contacting an obstruction, and that threshold cannot be verified by feel. It requires a sensor that can detect a stationary object in the path of travel, including a child standing still. None of this is verifiable with a multimeter and patience. These are the repairs we handle for Hyde Park South homeowners weekly, and it’s the reason our Electric Gate Repair in Hyde Park South page leads with safety compliance over convenience.
The Warranty Kill List: Repairs That Void Coverage Even When Done Right
Here’s the uncomfortable truth: you can perform a technically perfect limit switch adjustment on an Apollo or LiftMaster operator and still void your warranty. The manufacturers are explicit in their service documentation, and the language is not ambiguous. Any modification, adjustment, or repair performed by someone other than a factory-authorized technician voids the warranty for the affected component and, in many cases, the entire operator. We’ve sat with homeowners in Hyde Park South who were proud of a repair they’d done correctly, only to discover they’d saved $180 on a service call and forfeited eight months of remaining coverage on a $1,400 operator. That math rarely works in the homeowner’s favor.
The warranty kill list is specific, and it’s worth memorizing if you own an automated gate. Adjusting open or close limit switches on any LiftMaster, Apollo, FAAC, BFT, or Viking operator voids the manufacturer’s warranty on the operator assembly, full stop. Replacing a motor capacitor voids it. Replacing or adjusting a tension spring on a cantilever gate, even with the correct tool, voids it. Bypassing a safety sensor to test the motor voids it. Installing an aftermarket control board, even one advertised as “compatible,” voids it. And installing a universal remote receiver wired into the operator’s auxiliary port voids the warranty on the control board if the wiring isn’t performed by an authorized tech.
What most Hyde Park South homeowners don’t know is that manufacturers can detect nearly all of this. Modern operators from Linear and BFT log error codes, cycle counts, and power events in onboard memory. When a technician connects a diagnostic tool, the operator’s history is readable. A sudden change in cycle count without a corresponding service record is a red flag. A clearance of fault codes without the underlying repair is another. We’ve had homeowners ask us to “just make it work” after a DIY attempt, only for the operator’s log to tell the manufacturer what happened when the unit was sent in for its next legitimate warranty claim. The warranty didn’t survive.
Our advice in Hyde Park South is consistent on this point: if your operator is under warranty, the only DIY work worth doing is battery and lubrication. The moment a repair requires opening the housing, you’re potentially trading a free replacement for a paid repair, and that’s a bad trade every time. The Gate Repair in Hyde Park South team works with the original equipment manufacturer on every job because we know the warranty implications better than any homeowner could be expected to.
The Tool Reality Check: What Your Multimeter Can’t See
Let’s talk about diagnostic equipment honestly, because YouTube tutorials never do. A homeowner with a $40 multimeter from the hardware store can check voltage at the operator, continuity across a fuse, and basic resistance in a motor winding. That’s about 30% of what a trained technician brings to a service call, and the other 70% is where real gate repair lives or dies. The diagnostic tool we carry on every Hyde Park South service call costs more than most homeowners would pay for the repair itself, and it reads fault codes, cycle history, motor amperage draw under load, sensor alignment data, and control board communication protocols that a multimeter physically cannot access.
That last point, amperage draw under load, is where DIY diagnosis goes wrong most often. A motor can show perfect voltage at rest and still fail the moment it’s asked to move a 600-pound gate. A motor pulling 9 amps when it should pull 6 is a motor months from failure, but if you only test for voltage and continuity, everything looks fine. In Hyde Park South, where coastal salt air accelerates corrosion on motor windings and terminal connections, we see this pattern constantly: a homeowner replaces a capacitor, the gate works for two weeks, and then the motor fails completely because the capacitor was a symptom, not the cause. The $600 diagnostic tool catches the amperage issue before the wrong part goes in. The multimeter doesn’t.
Sensor alignment is the other blind spot. Photo eyes and loop detectors need to communicate with the control board through a specific signal, and a sensor can look physically clean and aligned while still being 15 degrees off-axis. You cannot verify sensor alignment by looking at it. You need a diagnostic readout from the board showing signal strength and fault status for each sensor independently. We’ve watched homeowners spend entire weekends adjusting photos eyes by hand, guessing at alignment, only to call us in frustration. The repair took 20 minutes with the right tool. The delay cost them three days without a working gate.
To be fair to the DIY approach: a multimeter is genuinely useful for confirming a dead remote battery, testing a blown fuse, or verifying that power is reaching the operator at all. Those are legitimate diagnostics that can save you a service call. But when the gate moves erratically, moves partially, or doesn’t move at all despite having power, the problem is usually in a component that requires the diagnostic equipment to identify. That’s the line. Simple power issues, your multimeter can handle. Everything else, and you’re guessing, and guessing on a gate repair usually means buying the wrong part twice before calling us anyway.
Safety-Critical Repairs That Should Never Be DIY
There are three repair categories where the phrase “never DIY” is not about preference or warranty language. It’s about physical safety, and in Hyde Park South, where nearly every home has a driveway gate that weighs more than a refrigerator, the stakes are not hypothetical. Entrapment sensor calibration is the first. The photo eyes and contact edges on a FAAC or BFT commercial-grade operator are calibrated to detect obstruction within a fraction of a second and reverse. A sensor that’s slightly off calibration may wait two seconds to reverse, which is an eternity when a child or pet is in the gate’s path. Calibrating these sensors requires test equipment that measures reversal time in milliseconds. It cannot be done by observation.
Hydraulic system pressure adjustment is the second. Gates that run on hydraulic operators, common in commercial and larger residential installations, have pressure relief valves that must be set within manufacturer specifications. A valve set too high means the gate will crush an obstruction rather than reverse. A valve set too low means the gate won’t move at all, or worse, will drift closed on its own. We respect the homeowner who understands hydraulics well enough to guess. We’ve also seen what a poorly adjusted hydraulic gate does to a car bumper in a Hyde Park South driveway, and it’s not a risk worth taking.
Battery backup load testing is the third, and it’s the one homeowners never think about until a power outage. The backup battery on an automated gate is not like a car battery. It’s designed to handle a specific load for a specific number of cycles, and a battery that tests fine with a voltage meter can fail the moment it’s asked to actually open a gate under load. The only valid test is a load test performed while the gate is in operation, and that requires the diagnostic equipment we discussed earlier. A Hyde Park South homeowner who replaces their own backup battery without load testing it may find themselves with a gate that won’t open during the next power outage, which is also when it matters most.
There are no UL 325 workarounds, no community college courses that qualify you to adjust these systems, and no amount of YouTube watching that replaces the test equipment. We say this as a company that genuinely wants to see homeowners empowered to handle the simple stuff. Entrapment sensors, hydraulic pressure, and backup battery systems are not the simple stuff. They’re the components that exist specifically to prevent injury, and they should never be opened by anyone who doesn’t do this for a living.
The True Cost: Five Scenarios Compared with Real Numbers
Let’s run the math on five common gate failures in Hyde Park South, because the true cost of DIY is never just the part. It’s the part plus the time plus the chance of wrong diagnosis plus the potential damage from the failed repair. We’ve priced these scenarios based on what we actually see and charge in this market.
Scenario 1: Gate won’t open, operator has power
DIY route: Homeowner replaces the capacitor ($25) based on a forum post. Gate works for two weeks, fails again. Replaces the control board ($180 aftermarket). Gate doesn’t work. Total spent: $205. Time spent: 6 hours. Final outcome: calls a professional anyway.
Professional route: Diagnostic reveals the motor is drawing 11 amps under load due to corroded windings, a common issue in Hyde Park South’s coastal air. Motor replacement quoted at $440 including labor. Gate is operating same day and stays fixed. Real labor cost: $440, one service call.
Conclusion: DIY saved nothing and cost $205 in wasted parts. The professional diagnosis was cheaper than the DIY attempt plus the repair.
Scenario 2: Gate reverses for no reason
DIY route: Homeowner cleans photo eyes and adjusts them by eye ($0). Problem persists. Replaces photo eyes with aftermarket sensors ($95). Problem persists. Disconnects sensors entirely to “bypass” the issue, which leaves the gate non-compliant and dangerous. Total: $95 spent, safety system disabled.
Professional route: Diagnostic shows the photo eye wiring has a partial break caused by years of flexing at the hinge point, a common failure on swing gates in Hyde Park South’s older neighborhoods. Rewiring and sensor recalibration: $210. Gate functions and stays compliant.
Conclusion: The DIY route didn’t work because the sensors were never the problem, the wiring was. And the cost of disabling safety features isn’t dollars, it’s liability.
Scenario 3: Keypad not working
DIY route: Homeowner replaces keypad battery ($5). Problem persists. Assumes keypad is dead, orders universal replacement online ($80), spends 3 hours rewiring. Keypad still won’t sync with the operator due to brand-specific communication protocol. Total: $85 and a weekend gone.
Professional route: Diagnostic shows the keypad is fine, the control board’s accessory port has failed. Board repairs cost $180. If the homeowner had already replaced the board incorrectly, it would have been $500 plus.
Conclusion: This is the scenario where a wrong DIY diagnosis costs more than the correct repair would have in the first place.
Scenario 4: Gate is slow and grinding
DIY route: Homeowner lubricates hinges, wheels, and track with WD-40 ($8). Grinding worsens. The WD-40 has now contaminated parts that should have used silicone-based lubricant, and the underlying issue, a failing bearing in the drive mechanism, was never touched. Correct repair after contamination: $340 parts plus labor.
Professional route: Bearing replacement quoted at $220. Gate runs smoothly same day. No contamination to clean up.
Conclusion: The wrong lubricant cost this homeowner an extra $120 in parts and labor. Lubrication is riskier than it looks when you use the wrong product.
Scenario 5: Gate opens but won’t close
DIY route: Homeowner assumes the closing limit switch is the issue and adjusts it, complete with removing the operator cover, voiding any warranty and potentially creating a gate that now doesn’t stop where it should. Time: 4 hours. Risk: high. Cost: $0 in parts but a warranty gone and a misaligned gate.
Professional route: Diagnostic shows a loop detector failing intermittently, a $140 part plus $70 labor. Gate is working perfectly same day. Warranty remains intact on the operator if it was under coverage.
Conclusion: The warranty void in this scenario is the real cost, far exceeding the service call savings.
The pattern across all five scenarios is the same: professional diagnostic time is cheaper than DIY parts when the diagnosis is wrong. In Hyde Park South, our flat-rate service includes diagnostics, so you always know the cost before work begins. We quote the price up front and get your agreement before any repair starts, so there’s never a surprise invoice.
The DIY-Safe List: What You Can Actually Do This Weekend
We’re not anti-DIY. We’re anti-DIY-on-the-wrong-thing. There’s a legitimate list of gate maintenance tasks that any capable Hyde Park South homeowner can handle safely, legally, and without touching a warranty. These tasks will extend the life of your gate and genuinely reduce your repair calls over time.
Safe DIY task #1: Remote and keypad battery replacement. This is the most common “repair” in Hyde Park South, and about a third of the calls we get for “gate won’t respond to remote” are solved with a $4 battery from the grocery store. Check the batteries in all remotes and the keypad before calling anyone. Note that some LiftMaster and Linear remotes use a CR2032 watch battery, and Mighty Mule and Ghost Controls remotes often use a 9-volt, so check your specific model before buying.
Safe DIY task #2: Cleaning photo eye lenses. A soft, dry cloth and a few minutes will solve more sensor faults than you’d believe. Dust, cobwebs, and the occasional spider making a home directly on the lens are responsible for a meaningful percentage of gate failures in Hyde Park South. Just clean the lens, don’t touch the alignment, and you’re well within the safe zone.
Safe DIY task #3: Track debris removal on sliding gates. Leaves, gravel, and the odd pine needle from those big old trees in Hyde Park South’s older neighborhoods accumulate in the track. Clearing them with a broom or a leaf blower is maintenance, not repair. If the track is bent or the wheels are grinding, that’s not a debris problem, and that’s where your DIY authority ends.
Safe DIY task #4: Hinge lubrication on swing gates. Use a silicone-based lubricant or white lithium grease on hinge pins, never WD-40, which attracts dust and breaks down the grease that’s already there. In Hyde Park South, where the air is damp and salt-tinged, silicone lubricant twice a year keeps hinges from seizing and reduces the load on your operator, which extends motor life.
Safe DIY task #5: Visual inspection. Walk the gate, the track, the hinges, and the sensor wiring monthly. Look for rust, loose bolts, frayed wires, and obstructions. Early detection is the single most effective DIY task you can do, because catching a loose bolt before it becomes a broken weld saves hundreds in repair costs.
All of these tasks are genuinely useful and keep your gate healthier between professional service intervals. If you do these and still have an issue, that’s when you call us, and we’ll diagnose the real problem with the right tools. If you’re ever uncertain about whether a repair falls on the safe list, our Gate Repair in Hyde Park South team can talk you through it before you touch anything.
Step-by-Step: The Two DIY Repairs Worth Doing
Two tasks account for roughly half of all DIY-safe gate maintenance in Hyde Park South. Here’s exactly how to do both correctly, because doing them wrong creates more problems than doing nothing.
Step-by-Step: Photo Eye Cleaning Without Messing Up Alignment
- Locate both photo eyes on your gate. These are the small cylinders or boxes mounted on either side of the gate opening, usually about 12 to 18 inches off the ground. On Hyde Park South homes with sliding gates, they’re typically mounted on the gate posts facing each other across the track.
- Check the indicator light on each sensor while the gate is closed. On most FAAC, BFT, Viking, and Linear systems, a solid green light means aligned and functioning, while a blinking or red light means misaligned or obstructed.
- Use a soft, dry microfiber cloth to wipe the lens surface on each sensor. Do not use glass cleaner, Windex, or any liquid, as these can strip the lens coating and cause reflection issues.
- If you see visible dirt or cobwebs inside the lens housing, use a can of compressed air to blow it out gently. Do not remove the lens cover to clean the inside, as this may disturb the internal alignment.
- Recheck the indicator light. If it’s green, you’re done. If it’s still blinking red, the sensor may be misaligned, and that’s a professional adjustment, not a cleaning fix.
Step-by-Step: Hinge Lubrication on a Swing Gate
- Open your swing gate fully and secure it with a block or chock under the free edge so it cannot close while you’re working. Never lubricate a moving gate.
- Identify all hinge points on both the top and bottom of the gate. On Hyde Park South homes with older iron gates, there may be three or more hinges along the gate’s vertical edge, and they may be painted over, so look carefully.
- Wipe each hinge with a dry rag to remove surface dust and old grease. If there’s caked-on rust, use a wire brush to remove loose material, but do not use chemical rust removers on the hinge assembly.
- Apply a small amount of white lithium grease in a spray or tube to each hinge pin, working the gate back and forth slightly after application to distribute the grease.
- Apply a silicone-based lubricant to any moving parts on the gate’s latch or lock mechanism, again working the mechanism a few times.
- Wipe away any excess lubricant with a clean rag. Excess grease attracts dust and grit, which accelerates wear in Hyde Park South’s dry summers followed by damp winters.
- Remove the chock and test the gate through two or three full open and close cycles, listening for any remaining squeaks or binding. If the noise persists after proper lubrication, the hinge may need replacement, which is a professional job.
Both of these procedures are genuinely useful and within the ability of most homeowners. The moment either procedure reveals a deeper problem, which is misaligned sensors or worn hinges, that’s the cue to stop and call for help rather than attempting a repair you’re not equipped to complete safely.
Common Mistakes to Avoid
- Using WD-40 on hinges and tracks. It’s a solvent, not a lubricant. It strips away the lubricant that was already there, attracts dust, and creates an abrasive paste that accelerates wear on bearings and rollers. In Hyde Park South’s dry, dusty summers followed by damp winters, this mistake shortens component life measurably.
- Adjusting limit switches without testing torque. The open and close limits on your operator are set relative to the gate’s weight and mechanical resistance. Moving them without a torque test changes how hard the gate hits at the end of travel, which can damage the gate frame over time or create a pinch point.
- Bypassing safety sensors to “test” the motor. This is the most dangerous DIY mistake we see. Disconnecting photo eyes or contact edges to run the gate creates a non-compliant, potentially deadly system. The test isn’t worth the risk, ever.
- Buying universal parts for brand-specific systems. Universal remotes, aftermarket control boards, and generic sensors are advertised as compatible with everything but optimized for nothing. On LiftMaster, FAAC, BFT, Linear, Viking, and other brands we work on, mismatched parts cause communication errors, shortened component life, and repeat failures.
- Ignoring a noisy gate until it stops working. Grinding, clicking, or a change in the sound your gate makes is an early warning, not an aesthetic issue. In Hyde Park South, we see gates that made noise for months before failure, and the repair cost was three times what it would have been if addressed at the first sign of trouble.
- Not checking the simple things before calling. Dead remote battery, photo eye lens covered in dust, a tripped GFCI outlet where the operator plugs in. We’d estimate that 20% of the service calls we run in Hyde Park South are solved in under five minutes with one of these checks. Check them first, save the service fee.
When to Call a Professional
Call a professional when the repair involves the operator housing, any wiring, any sensor, any limit or pressure adjustment, any hydraulic component, or any part of the gate’s drive mechanism. That’s the simple version. The functional version is this: if the repair involves a component that, when wrong, makes the gate unsafe or non-compliant, it’s a professional’s job. In Hyde Park South, that’s the majority of what we handle on a daily basis, and it’s the work that keeps gates operating safely for the long term. If your gate isn’t opening, is making grinding noises, or isn’t responding to remotes after new batteries, that’s our wheelhouse. Gate Repair Hyde Park South offers free estimates in Hyde Park South. Call (877) 752-8839 and we’ll diagnose the problem and quote the price before any work starts.
Frequently Asked Questions
Most gate repairs in Hyde Park South run between $180 and $600 for the types of issues we see most often, including sensor replacement, control board repair, hinge and bearing replacement, and motor capacitor swaps. Larger repairs like full motor replacement or hydraulic system rebuilds can run $800 to $1,500 depending on the brand. Every quote is given up front and agreed to before any work begins. Call (877) 752-8839 for an exact quote on your specific gate.
If you’re only replacing the battery in an existing remote, yes, that’s a simple DIY job. If you need to program a new remote to your operator, many brands allow homeowner programming through the operator’s learn button, but some newer FAAC and Viking systems require a technician with diagnostic access to sync a new remote properly. When in doubt, our Gate Repair in Hyde Park South team can handle it.
Check the simple things first: remote batteries, photo eye lenses that may have been knocked out of alignment by wind or an animal, and whether the operator has power at the outlet. If those check out and the gate still won’t operate, the quickest resolution is to call a professional for a proper diagnosis rather than attempting a repair you can’t safely complete in the dark.
We work on LiftMaster, FAAC, BFT, Linear, Viking, Ghost Controls, DoorKing, Elite, and Mighty Mule, which covers the vast majority of automated gates installed in Hyde Park South and the surrounding neighborhoods. If your brand isn’t listed, call and ask. We’ll tell you honestly whether we’re the right fit for your system.
Gate repair covers the mechanical and structural components: hinges, tracks, wheels, gate frames, and alignments. Electric gate repair in Hyde Park South covers the powered components: motors, operators, control boards, sensors, loops, and access systems. In practice, many repairs touch both, and we handle both, so there’s no need to find a separate specialist for the electrical work.
We handle the full gate lifecycle, including new gate installation in Hyde Park South. That means the same team that repairs your existing gate can also handle a full replacement or a new automated system when the time comes, with no need to coordinate between an installer and a repair company. Installation quality directly affects how often you’ll need repairs later, and we build that reliability in from day one.
The Bottom Line
The DIY vs. professional gate repair decision isn’t about your skill level or your willingness to get your hands dirty. It’s about the specific component and what California law, UL 325, and your warranty say about whether you’re allowed to touch it. Battery replacement and lubrication are yours to own. Limit switches, sensors, motors, control boards, hydraulics, and backup battery testing belong to a trained technician with the right diagnostic equipment. The moment you open the operator housing, you’re in licensed contractor territory in California, and the liability and warranty risks multiply fast. In Hyde Park South, where gate systems range from simple Mighty Mule remotes to commercial-grade FAAC and BFT operators, the same rule applies across the board: if it moves your gate under power, it’s a professional’s job. For everything else, do the simple maintenance, and Gate Repair Hyde Park South is here when the real repair call comes.
Written by the team at Gate Repair Hyde Park South, serving Hyde Park South since 2015.
See the difference
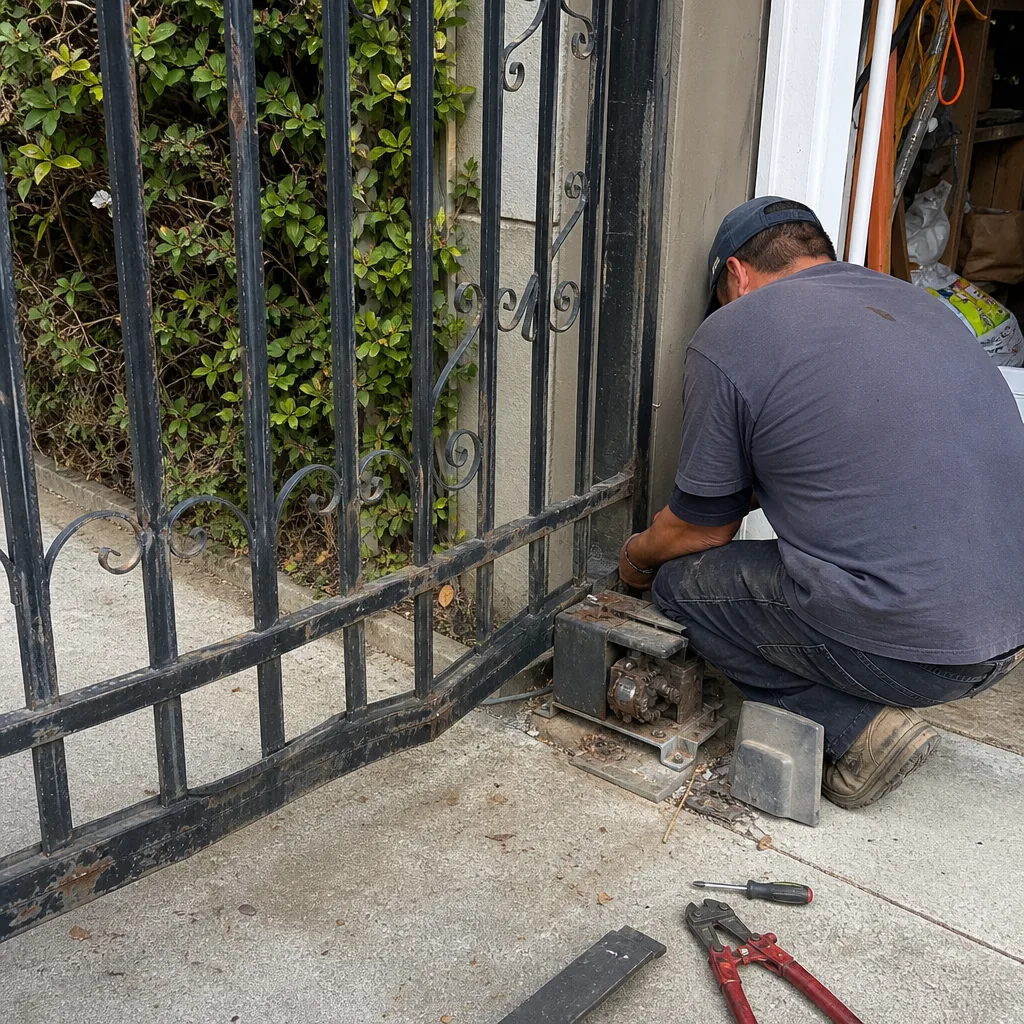 Before
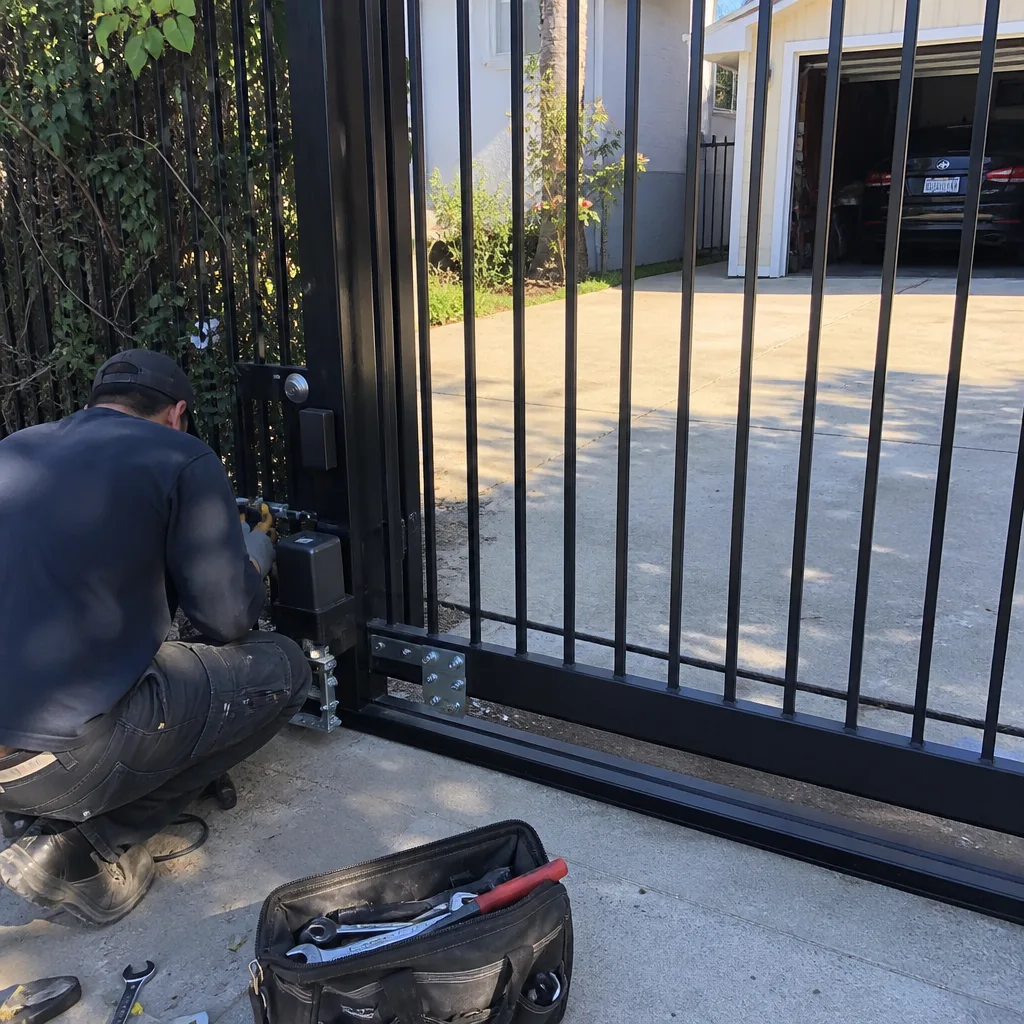 After
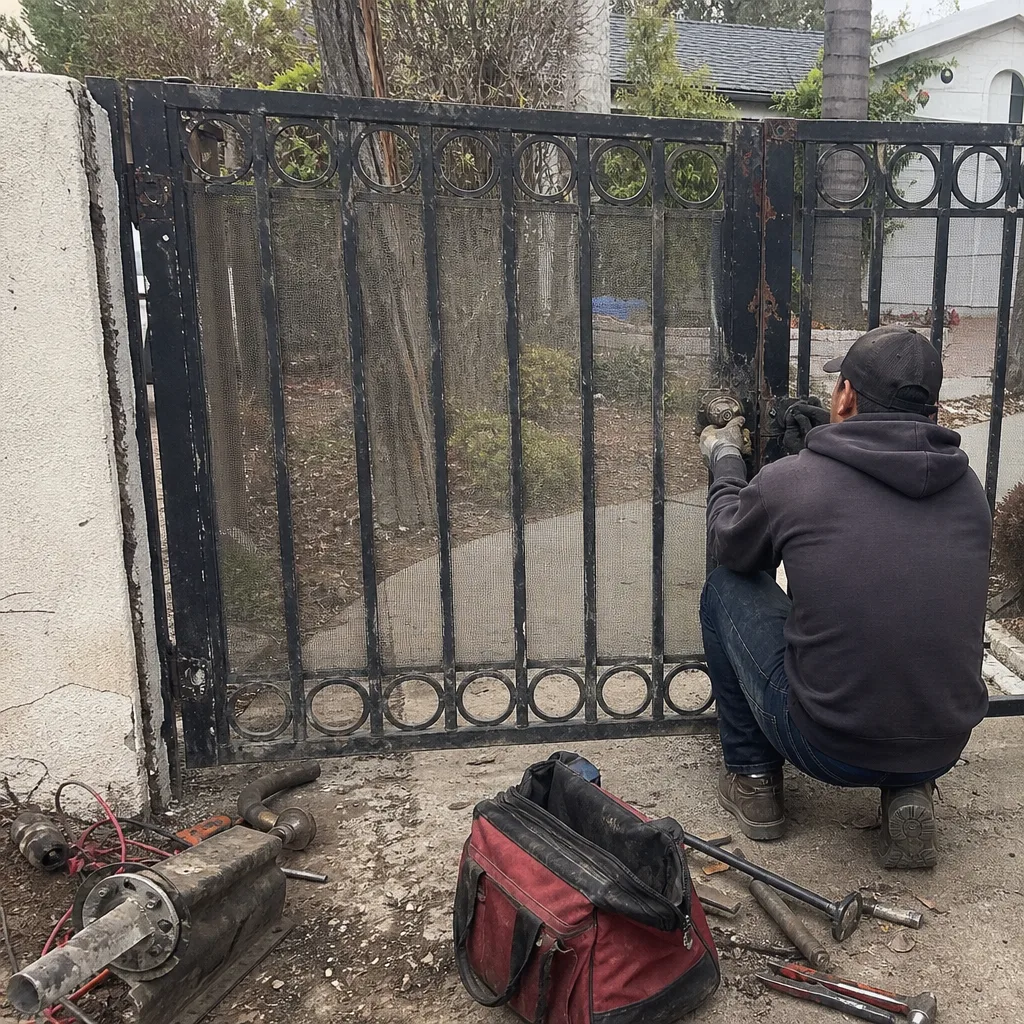 Before
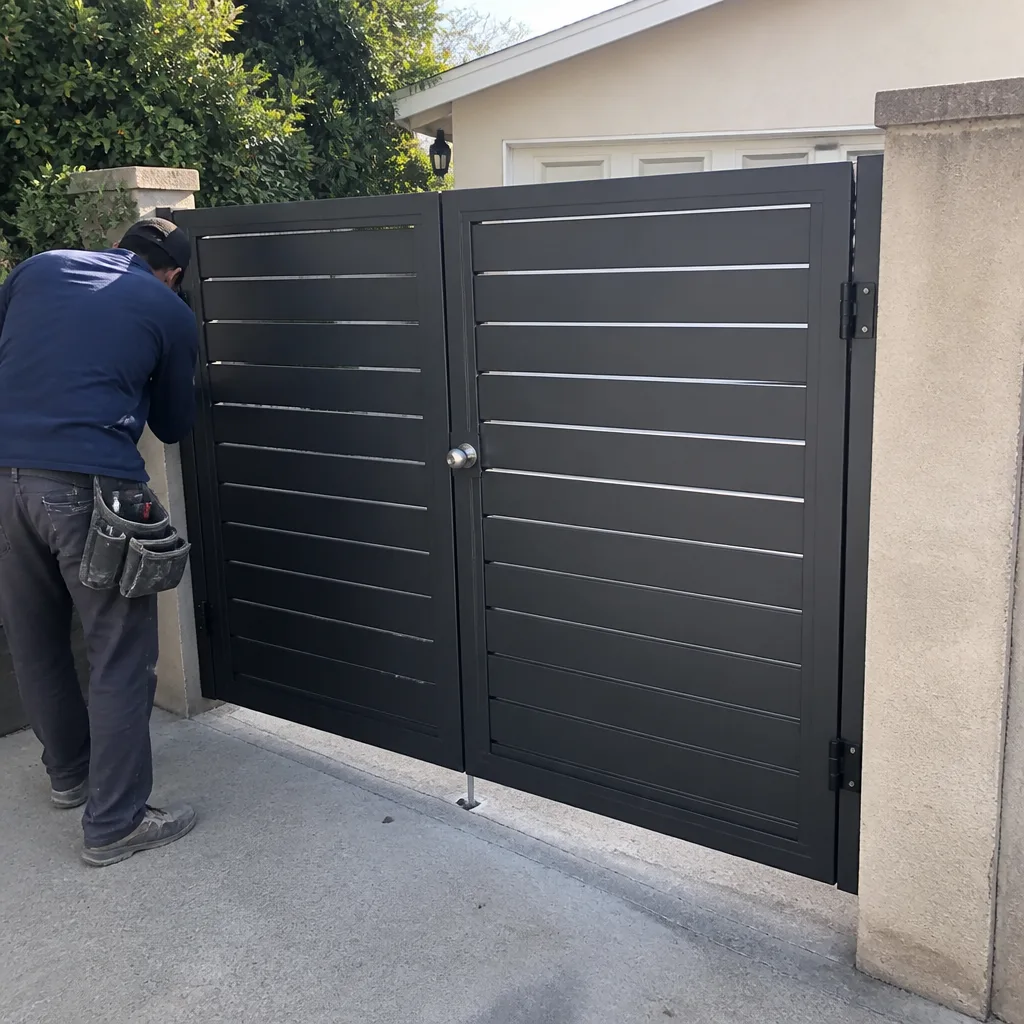 After
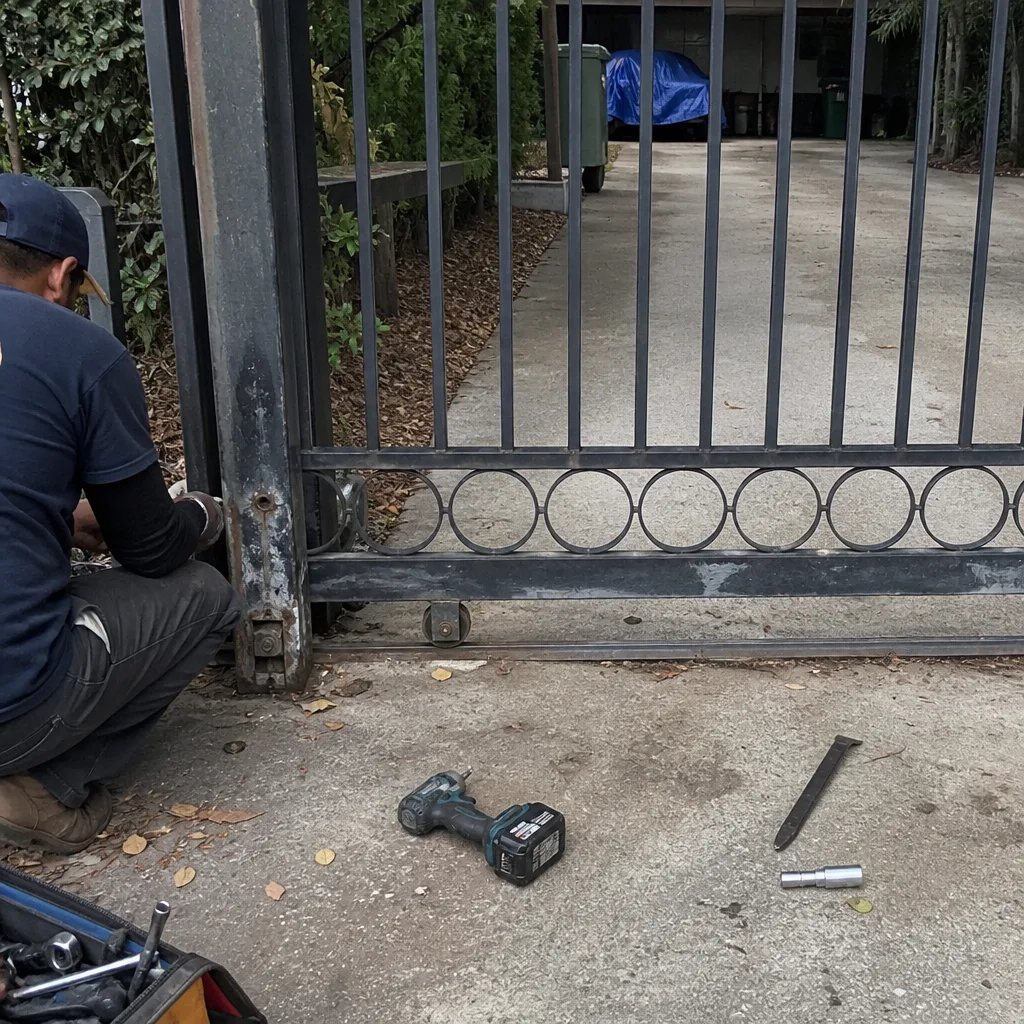 Before
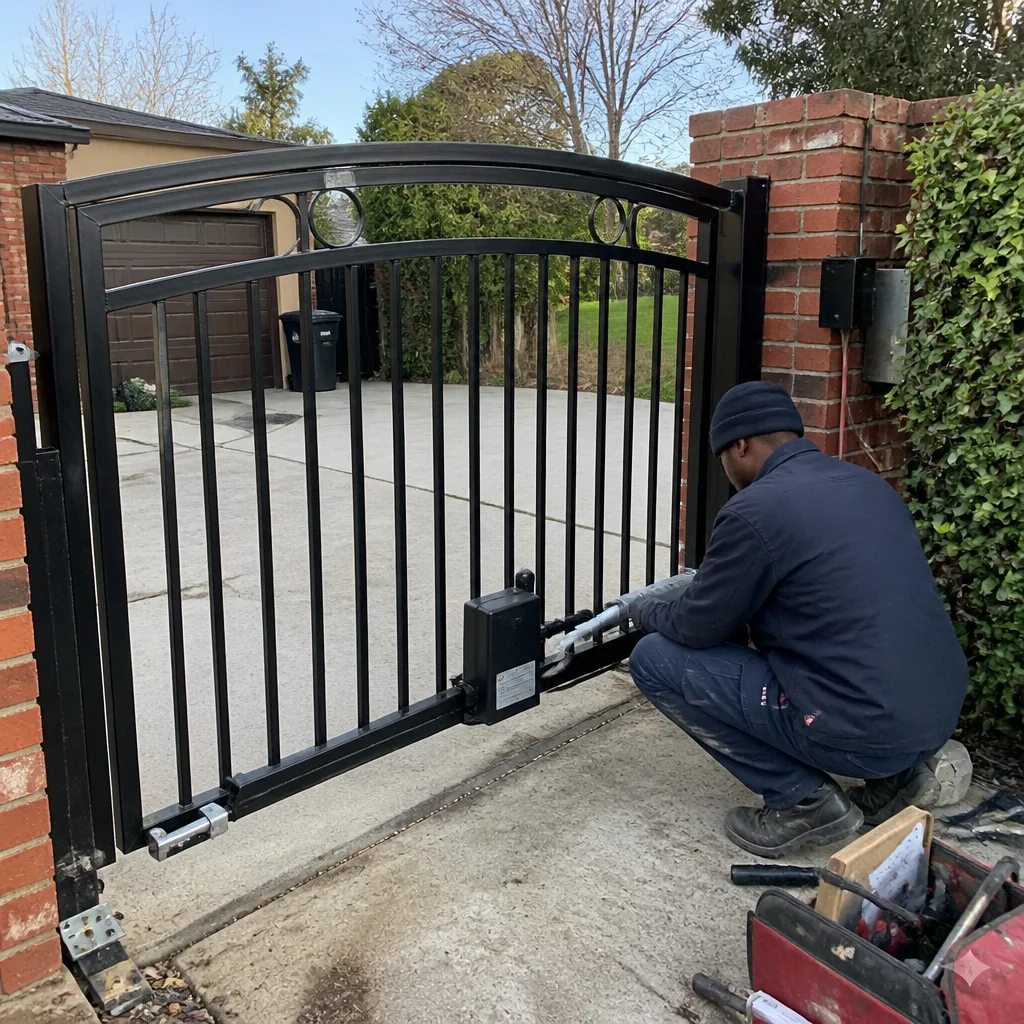 After